
The Ultimate Guide to Cleaning Your Kitchen Appliances in Valdosta
The Heart of Your Home Deserves the Best Care
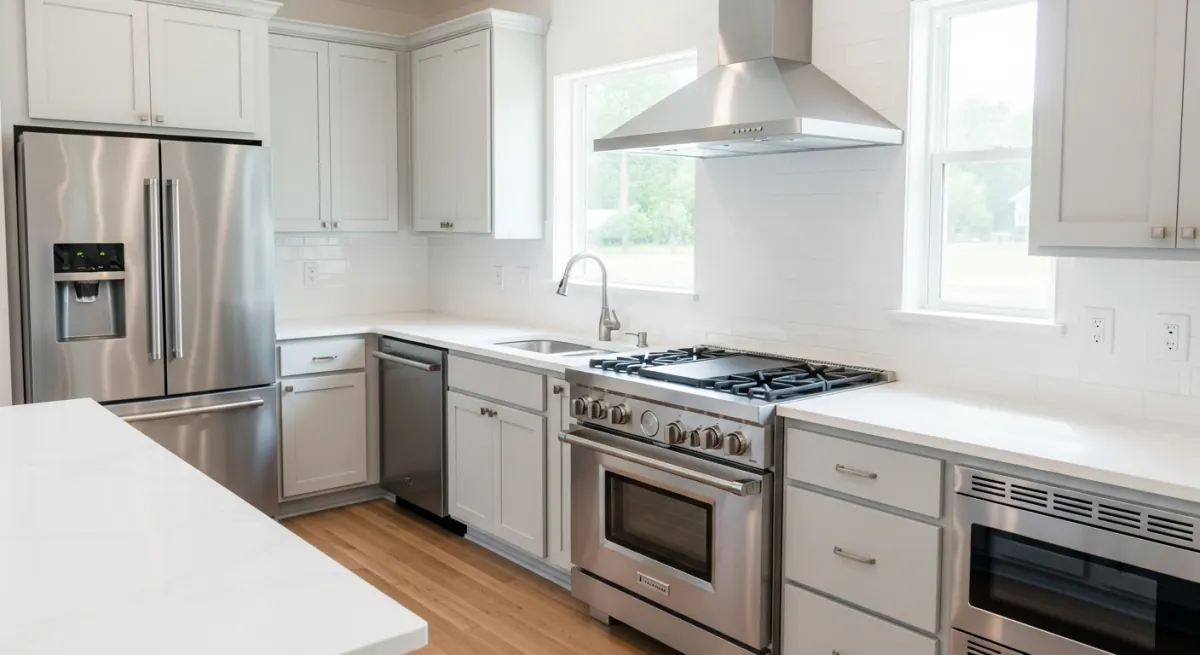
The kitchen is undeniably the heart of any home in Valdosta, GA. It's where families gather, meals are prepared, and memories are made. However, it's also the room that takes the most abuse. While wiping down countertops and sweeping the floor are part of a daily routine, the real heavy lifting happens inside and outside your major appliances. Over time, ovens accumulate baked-on carbon, refrigerators harbor forgotten spills and lingering odors, dishwashers develop mineral buildup, and microwaves become splattered with food residue.
Neglecting these appliances doesn't just make your kitchen look dirty; it can significantly reduce their efficiency, shorten their lifespan, and even pose health risks due to bacterial growth. At King Neat Cleaning Services, we know that deep cleaning appliances is a daunting task for most homeowners. It requires time, elbow grease, and the right techniques to avoid damaging sensitive components. In this comprehensive, 1,500-word guide, we share our professional secrets for tackling the four major kitchen appliances, ensuring they look pristine and function flawlessly.
1. The Refrigerator: A Sanctuary for Freshness
Your refrigerator works 24/7 to keep your food safe. A dirty fridge not only looks unappetizing but can also cross-contaminate fresh groceries and force the compressor to work harder, driving up your energy bills.
The Deep Clean Process:
- Empty Completely: You cannot clean a fridge properly while it's full. Take everything out. This is the perfect time to check expiration dates and ruthlessly discard anything that is past its prime, fuzzy, or unidentifiable.
- Remove the Removables: Take out all shelves, crisper drawers, and door bins. Let them come to room temperature before washing them in the sink with warm, soapy water. Washing cold glass shelves with hot water can cause them to shatter.
- Wipe the Interior: Do not use harsh chemicals like bleach inside your fridge, as the odors can be absorbed by your food. Instead, use a mixture of two tablespoons of baking soda and one quart of hot water. This solution cuts through sticky spills and neutralizes odors perfectly. Wipe down the walls, the ceiling, and the floor of the fridge.
- The Gaskets: The rubber seals around the doors (gaskets) are notorious for collecting crumbs and mold. Use an old toothbrush dipped in the baking soda solution to gently scrub the folds of the gasket. Dry it thoroughly to prevent mold from returning.
- The Exterior and Coils: Wipe down the exterior with a microfiber cloth. If you have stainless steel, use a specialized stainless steel polish, always wiping in the direction of the grain. Finally, pull the fridge away from the wall and use a vacuum attachment to clean the condenser coils on the back or bottom. Dusty coils force the fridge to work much harder to stay cool.
2. The Oven: Banishing Baked-On Carbon
The oven is often the most dreaded cleaning task in the entire house. Splatters of grease and food bake onto the walls at high temperatures, creating a rock-hard layer of carbon that seems impossible to remove.
To Self-Clean or Not to Self-Clean?
Most modern ovens have a self-cleaning feature, which locks the door and heats the interior to over 900 degrees Fahrenheit, turning food debris into ash. While convenient, this feature can sometimes stress the oven's internal components and produce strong, unpleasant odors. If you choose to use it, ensure your kitchen is well-ventilated and wipe out the resulting white ash with a damp cloth once the oven has completely cooled.
The Manual Deep Clean Method:
- Remove the Racks: Take the racks out and soak them in a bathtub filled with hot water and a half-cup of dish soap or a specialized rack cleaning solution. Let them soak for at least two hours before scrubbing with a non-scratch scouring pad.
- The Baking Soda Paste: For the interior, skip the toxic aerosol oven cleaners. Make a thick paste using baking soda and water. Coat the entire interior of the oven (avoiding the heating elements). Let this paste sit overnight. The baking soda will break down the grease and carbon.
- The Vinegar Reactivation: The next morning, take a damp sponge and wipe out as much of the paste as possible. Then, spray the remaining residue with white vinegar. The vinegar will react with the baking soda, creating a gentle foam that helps lift the final bits of grime. Wipe everything clean with a damp microfiber cloth.
- The Glass Door: Oven doors often have grease baked onto the glass. You can use the same baking soda paste here, or use a specialized glass cooktop cleaner with a non-scratch pad to restore transparency.
3. The Dishwasher: Cleaning the Cleaner
It seems counterintuitive, but the machine responsible for cleaning your dishes needs to be cleaned itself. Over time, food debris, grease, soap scum, and hard water minerals build up inside the dishwasher, leading to foul odors and cloudy glassware.
The Three-Step Refresh:
- Clean the Filter: This is the most critical and most often neglected step. The filter is usually located at the bottom of the dishwasher basin. Remove it (it usually twists out) and wash it in the sink with warm, soapy water and a soft brush to remove trapped food particles.
- The Vinegar Wash: Place a dishwasher-safe cup filled with white vinegar on the top rack of the empty dishwasher. Run a full cycle on the hottest water setting. The vinegar will break down grease, soap scum, and hard water deposits, leaving the interior smelling fresh.
- The Baking Soda Rinse: Once the vinegar cycle is complete, sprinkle a cup of baking soda across the bottom of the dishwasher. Run a short, hot water cycle. The baking soda will scrub away any remaining stains and neutralize lingering odors, leaving the stainless steel interior bright and shiny.
- Wipe the Edges: The edges of the dishwasher door and the rubber seals do not get washed during a cycle. Wipe these areas down manually with a damp cloth and a mild all-purpose cleaner.
4. The Microwave: Softening the Splatters
Microwaves are notorious for explosions of soup, sauce, and butter. When left to dry, these splatters become incredibly stubborn.
The Steam Clean Method:
Do not waste your energy scrubbing a dry microwave. Let steam do the work for you.
- Fill a microwave-safe bowl with one cup of water and a few tablespoons of white vinegar or the juice of a fresh lemon.
- Place the bowl in the microwave and heat it on high for 3 to 5 minutes, until the water comes to a rolling boil and the window is steamed up.
- Do not open the door immediately. Let the bowl sit inside for another 5 minutes with the door closed. The trapped steam will soften the baked-on food.
- Carefully remove the hot bowl and the glass turntable (wash the turntable in the sink). Take a damp microfiber cloth and effortlessly wipe away the softened grime from the walls, ceiling, and door of the microwave.
The Professional Touch
Deep cleaning your kitchen appliances is a transformative process that drastically improves the look and feel of your kitchen. However, it is also incredibly time-consuming and physically demanding.
If you would rather spend your weekend enjoying Valdosta rather than scrubbing the inside of an oven, King Neat Cleaning Services is here to help. Our deep cleaning packages include the thorough exterior cleaning of all appliances, and we offer interior oven and refrigerator cleaning as specialized add-ons. We bring the professional-grade products, the expertise, and the elbow grease required to restore your kitchen to the Royal Standard.
Let Us Handle the Heavy Scrubbing
Transform your kitchen with our professional deep cleaning services. Contact King Neat today for a free quote.
Get a Deep Cleaning Quote
Written by
Ryan TrevinoFounder & CEO, King Neat Cleaning
Ryan Trevino founded King Neat Cleaning Services, a veteran-owned cleaning company serving Valdosta, Hahira and Lowndes County. He built the company around the "Royal Standard", the checklist and training every King Neat cleaner follows, and shares what his team has learned cleaning South Georgia homes and businesses.